
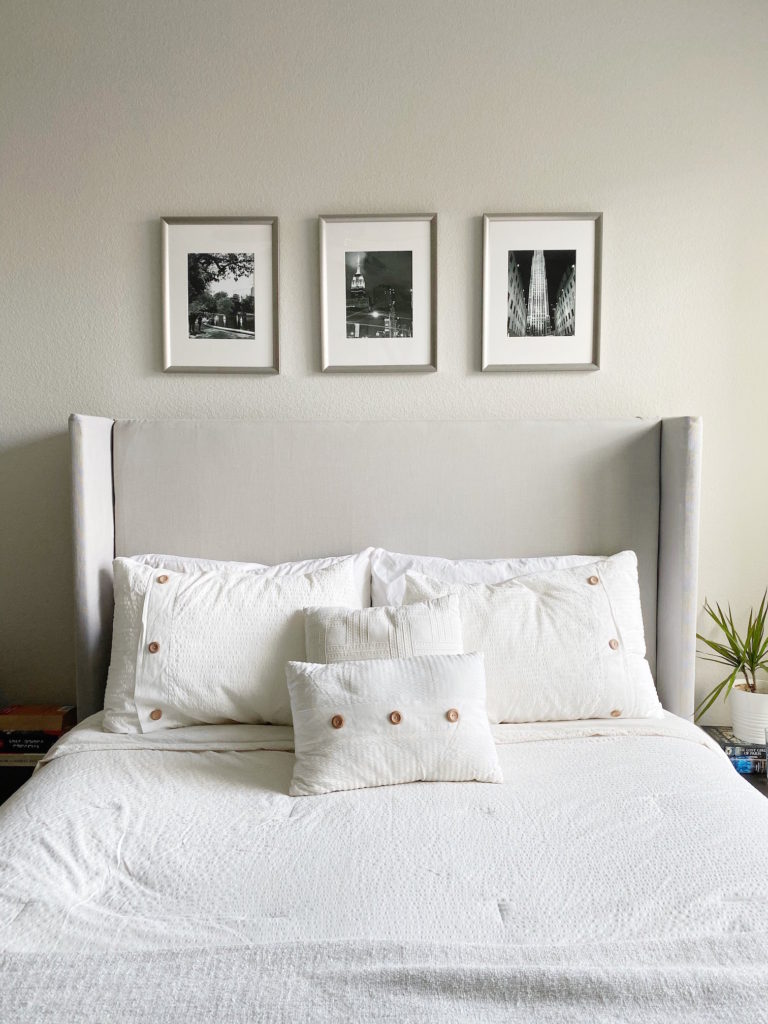
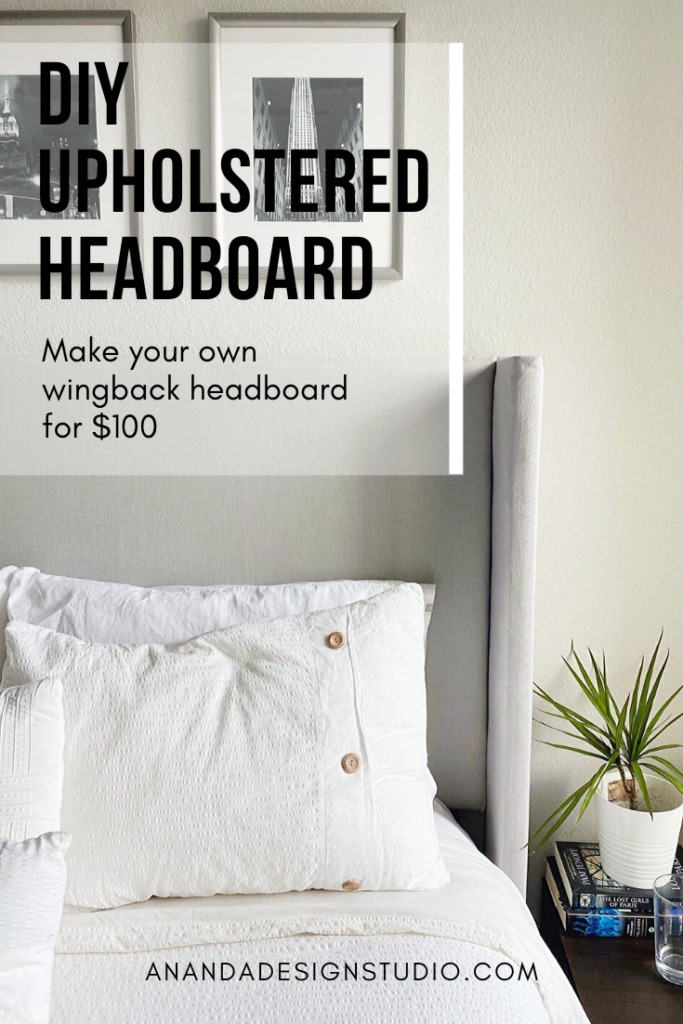
I admit that much like a lot of other people, my dream would be to become an awesome DIYer and just change the look of my whole house with my own two hands. Well, I have to say that even though right now we are living in a rental and there is not much we can do to change the shell of it, I stepped onto a DIY that we could not NOT do. A headboard.
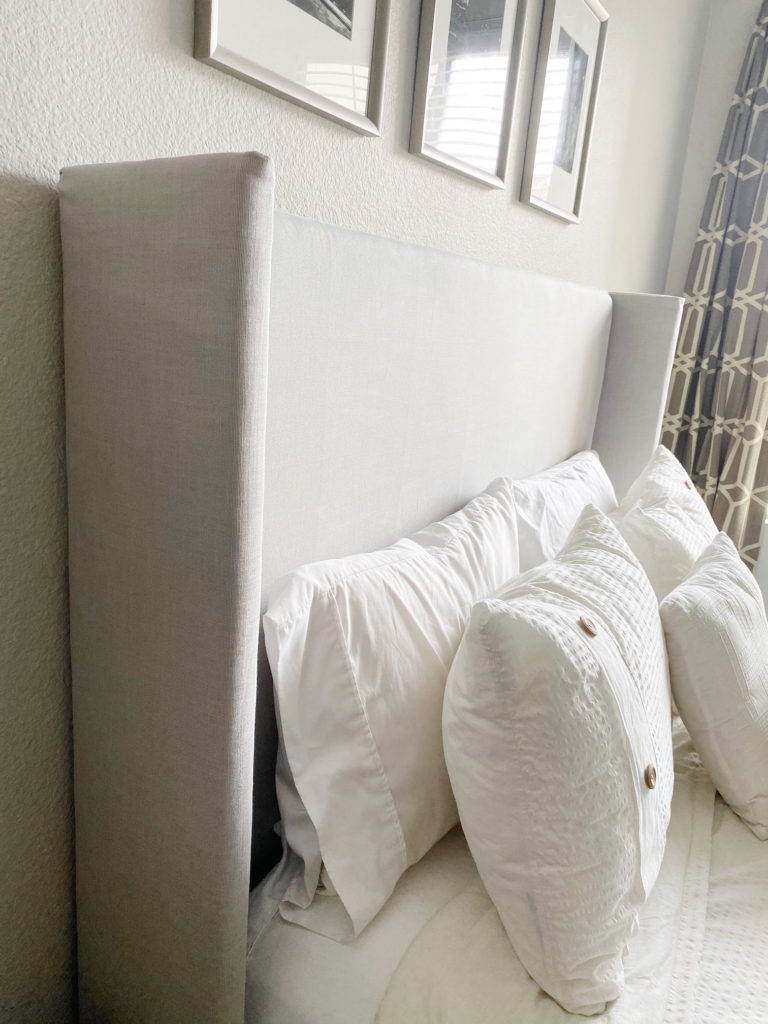
I have been looking for a headboard for a long long time but I never really found the perfect one, I wanted a simple, upholstered, neutral, winged headboard that was also affordable. The ones that I’d find where either cheap looking or not the right color, or was tufted, so we never got to buying one.
I had already checked several tutorials but they just needed a very wide range of tools and materials that made it so complicated. I was trying to look for something simple, since I am definitely not a pro and not in the mood to waste money and make it turn out horrible looking.
But it wasn’t until I stumbled open Angela Rose’s Instagram that I started looking at her past projects and there it was, an easy DIY no sew, upholstered headboard. I like her a lot on her stories so naturally, that made me even more excited that I was doing one of her projects.
We made some little changes, ours is a little higher which I think definitely makes it look so much modern, more on that in the details section. The total for purchasing all the materials came up to about $100.
you’ll need:
- Sheet of plywood 3/4″ thick
- 2 1×4 common pine boards cut at 55 in long
- Two curtain panels 40″ x 84″ minimum, or fabric (4 or 5 yards), of your choice
- Foam Pad (only needed for the actual headboard, not the wings)
- Batting4 or 5 yards or duvet filling that is not too thick
- Glue or Spray adhesive
- Staple gun
- Drill and screws
the deets
- Ok so, first things first, the original tutorial you can find it on Angela Rose’s blog here.
- We made our headboard for a queen bed, which is what we have atm, but we also made it taller so two curtain panels where just perfect for ours. These are the ones we used in gray.
- We made minimal changes to the materials, instead of batting we used a duvet filling from Ikea that we didn’t need anymore. I am trying to upcycle as much as I can the things that we already have and I have to say, it worked perfectly.
- You do need a drill to make this happen, and a pair of strong hands. Thank god L was game to make this with me so he did the drilling and saved us both a lot of time.
- You can have the plywood sheet cut at Home Depot or Lowe’s. We got charged like 25 cents after 3 cuts or so but it was no problem, we don’t have the equipment or the patience to cut it at home so it worked for us. In some I think they cut it for free.
- Here are the measurements and guide that we used for cutting it (these are not the same measurements that Angela has on her website, hers is for a king lower headboard)
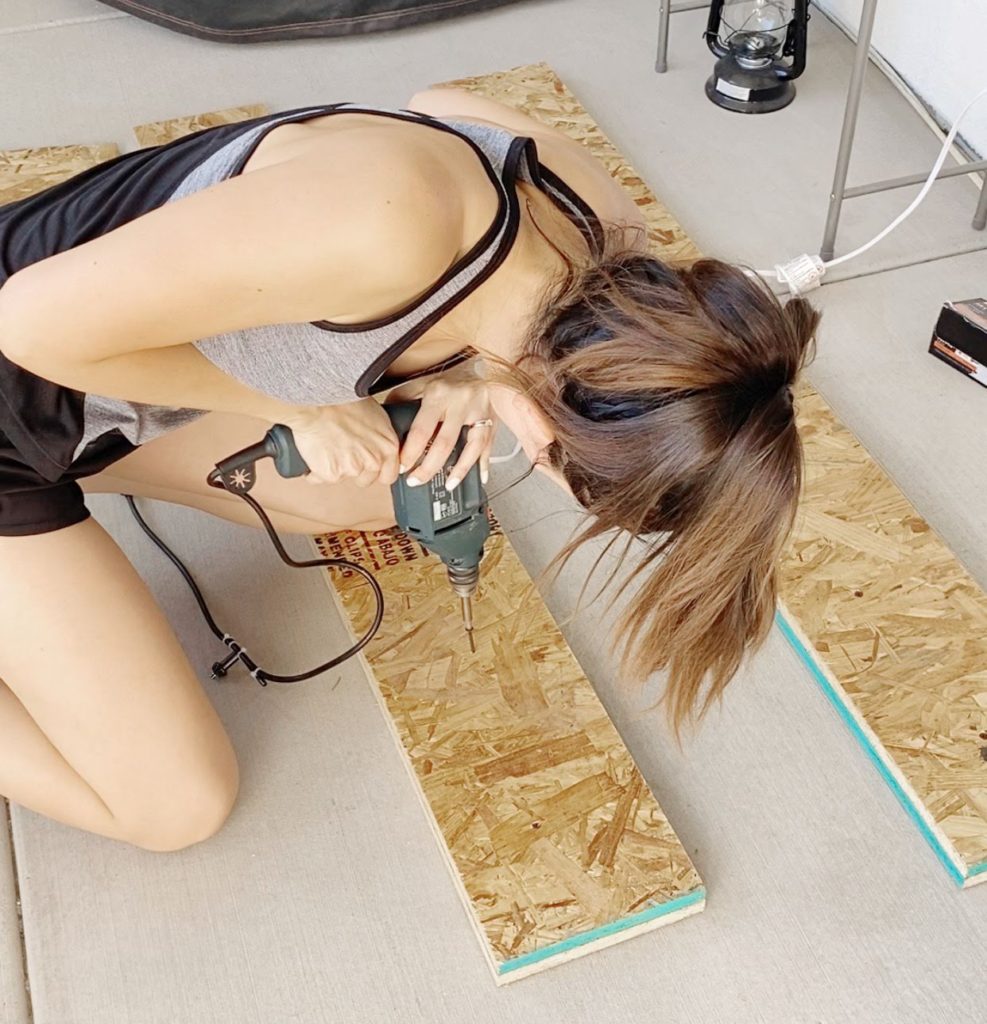
Here I am attempting to screw the wing pieces together. I did one screw, L did the rest. 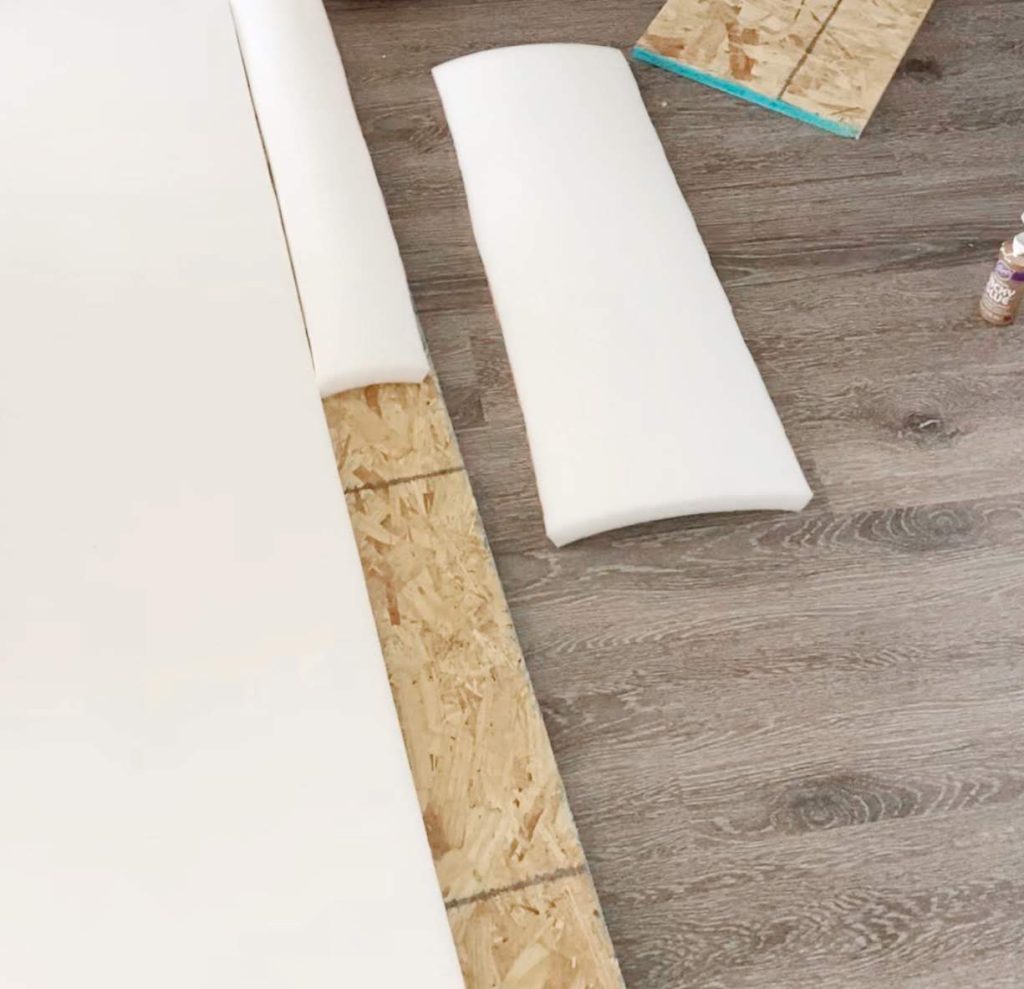
Putting the foam on the headboard part, I had to cut pieces to cover the entire thing because it was wider than the foam. 
Covering the headboard with my makeshift batting (and old Ikea duvet filling) 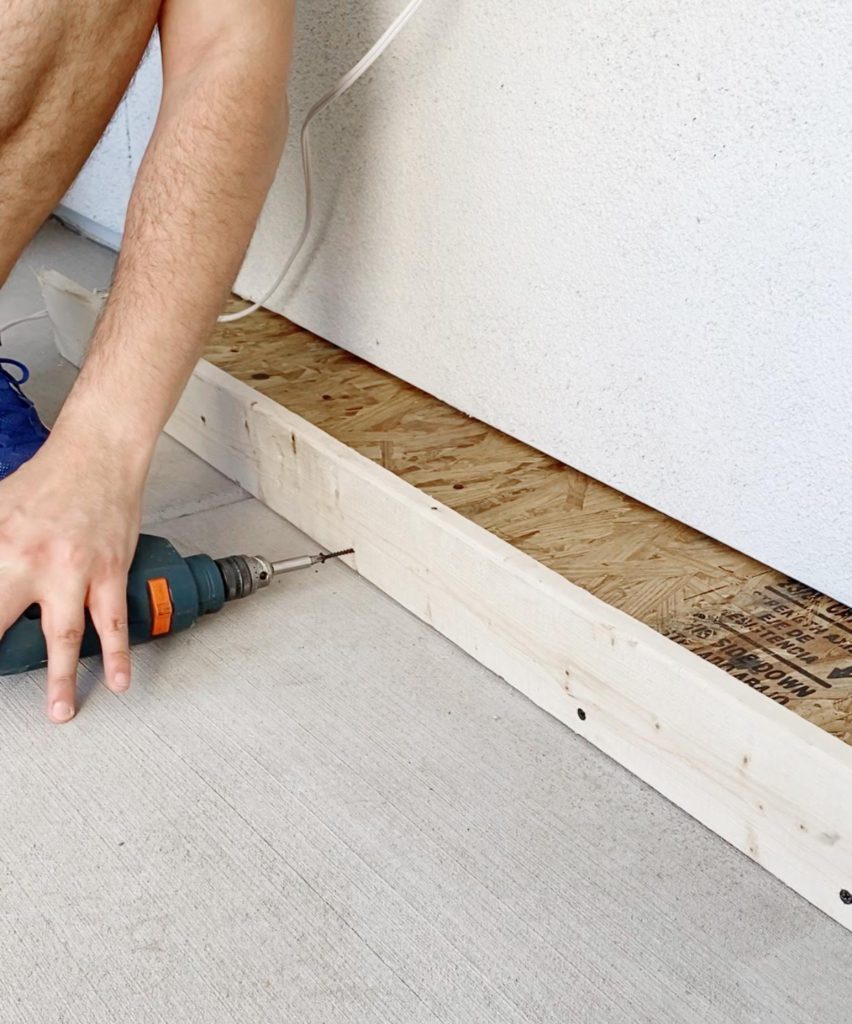
Screwing the 1×4 to the wing pieces to make the L’s
instructions
- Get all your supplies ready, your wood cut, and some good music on.
- Start with getting the wings set. you are going to screw together the pieces for the wings so that the wings are thicker and so that they don’t look flimsy. Basically on top of one of the 58″ x 7.75″ pieces, you will screw one of the 48″ x 7.75″ plus one of the little pieces of 10″ x 7.75″. Repeat the same with the other wing.
- Now that you have your wings screwed, you will attach with screws one 1×4 to the wings to create something like an L, the part that is sticking out will attach to the headboard part. Do the same to the other wing.
- Moving on! now it is time to glue the foam to the headboard you can use your spray adhesive or glue, either one works.
- Now you will cover the headboard with batting and staple it to what will be the back of the headboard. Make sure it has no wrinkles and that it is nice and tight.
- Next, you wrap the wings with batting. You start with cutting a rectangle of the batting that will cover what will be the top of your wings so that it doesn’t have any sharp edges. Staple it so it stays in place. Make sure you have one for each side.
- Cut a piece of batting to cover the entire length of the wing now starting from the inside of the wing and going all the way to the back, making sure not to staple the batting all the way till the edge because you still need to attach the wings to the headboard, this saves you a few headaches later. Do the same with the other wing.
- Time to add the fabric! Start with cutting a piece that will cover the entire fron of the headboard plus some extra so that you are able to wrap it and staple it to the back, I left almost 5″6″ extra on each side. Staple the fabric to the headboard part but don’t staple the top part just yet.
- For the wings, do the same process as with the batting, meaning first cut a rectangle to go on what is the top of the wing, staple it, and fi neccessary, add some small pieces of batting on top of the staple, so when you put the rest of the fabric on top it looks nice and even.
- Move on to the lengthwise part of the wing, stapling on the inside of the wing (these staples will be covered by the headboard part later so you won’t see them when it is all done) and on the back, again, leaving some space for the screws that will attach the wings to the headboard part. NOTE: take some time to figure out a way so that it looks nice and finished on the top part, so that you don’t end up with the fabric edge visible, try to make some kind of a fold so that it looks pretty. When you figure it out, staple and move on!
- Next step is to attach the wings to the headboard. Remember that you left some space on the back of the wings for later, this is the space where you can drill the screws to attach the wings to the headboard. You will need 2″ screws to make sure you get all the way to the headboard.
- Once the wings are screwed in and secure you can staple the fabric if you wish. You won’t see it because it will be against the wall, but if you are ocd like me then you go ahead and put our mind at ease.
- Now that everything is attached, you can staple the top part of the fabric to the back, and if you have any extra fabric and want to cover the rest of the exposed wood in the back and on the lower part of the wings, do it!
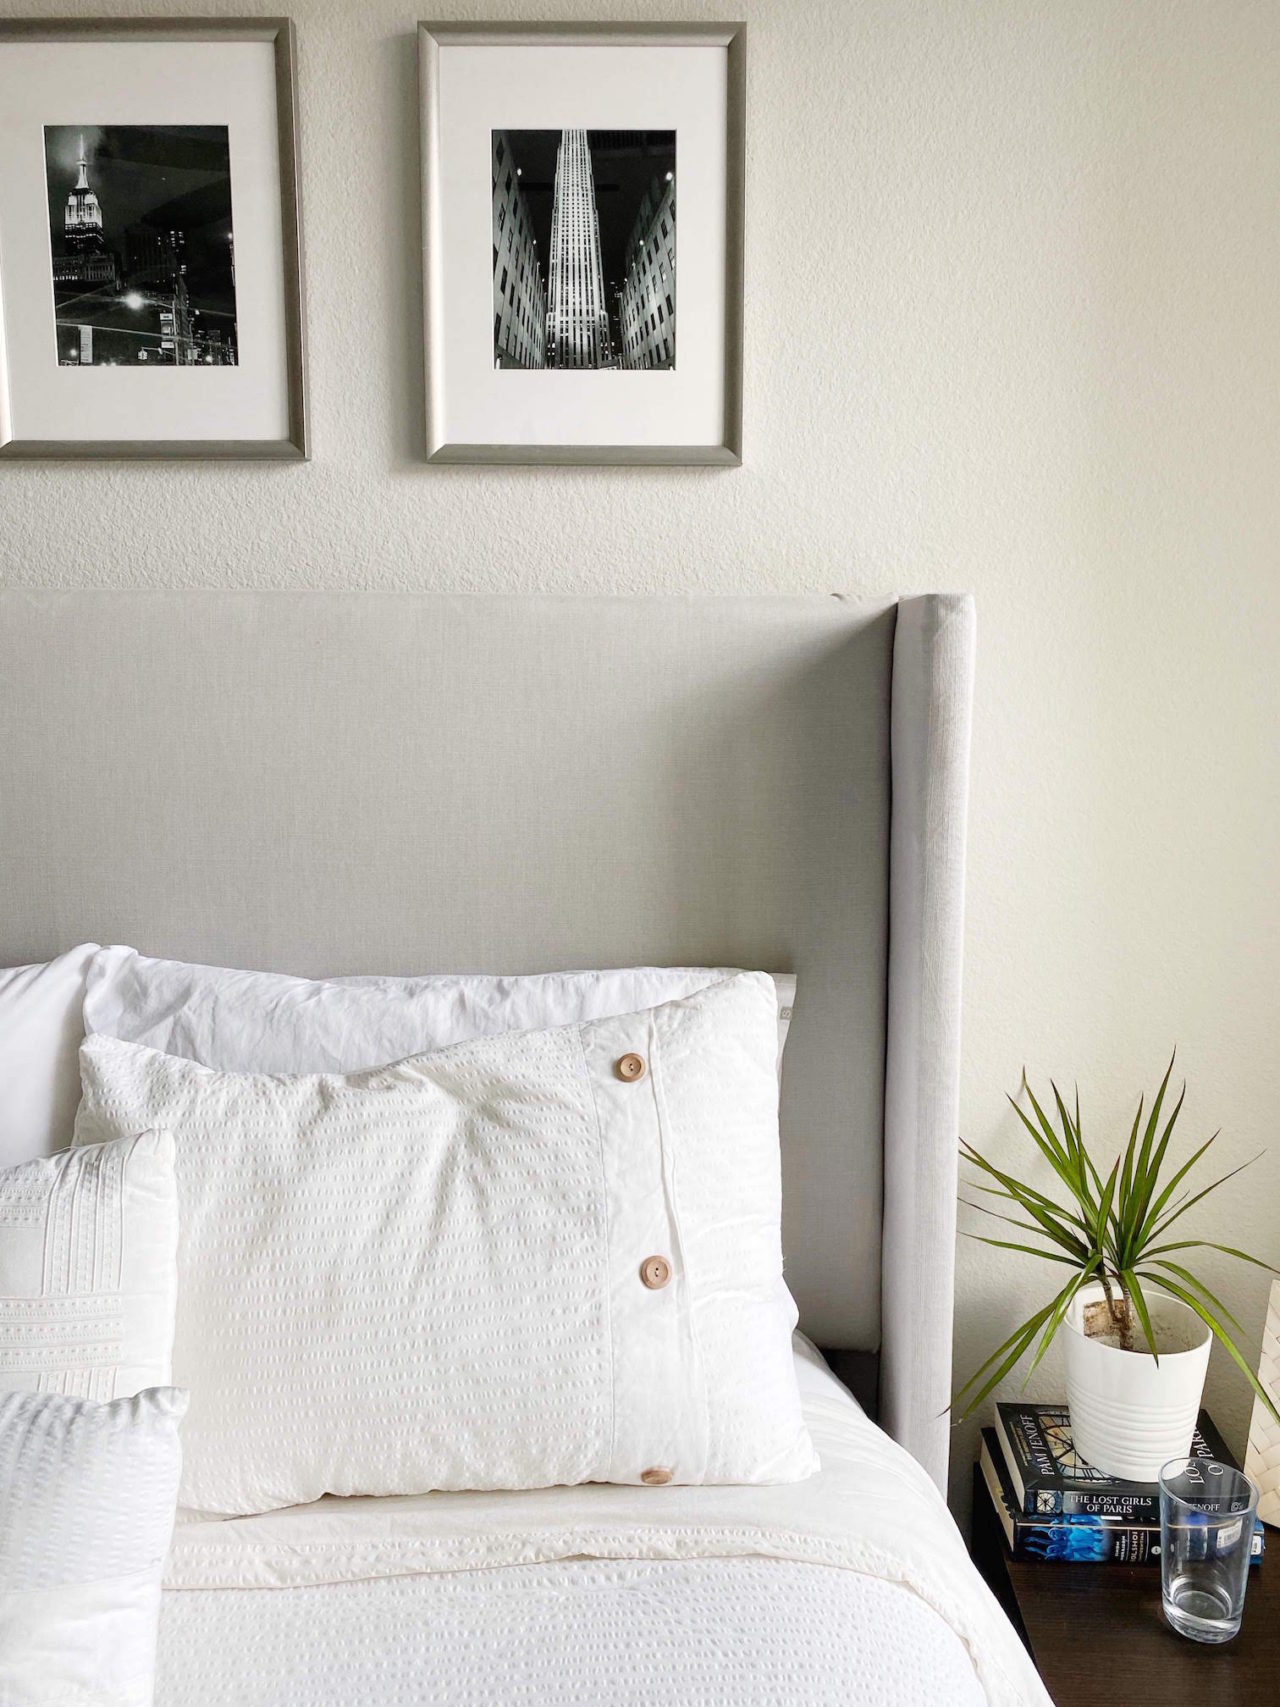
- Go to your bedroom and put the headboard against the wall, make sure the mattress is nice and snug in there and immediately take a picture and share it with your friends and fam! You just made your very own headboard!


No Comments